Adult tobacco-accessory equipment guide
Cigarette Rolling Machine Maintenance: The Complete Care Guide
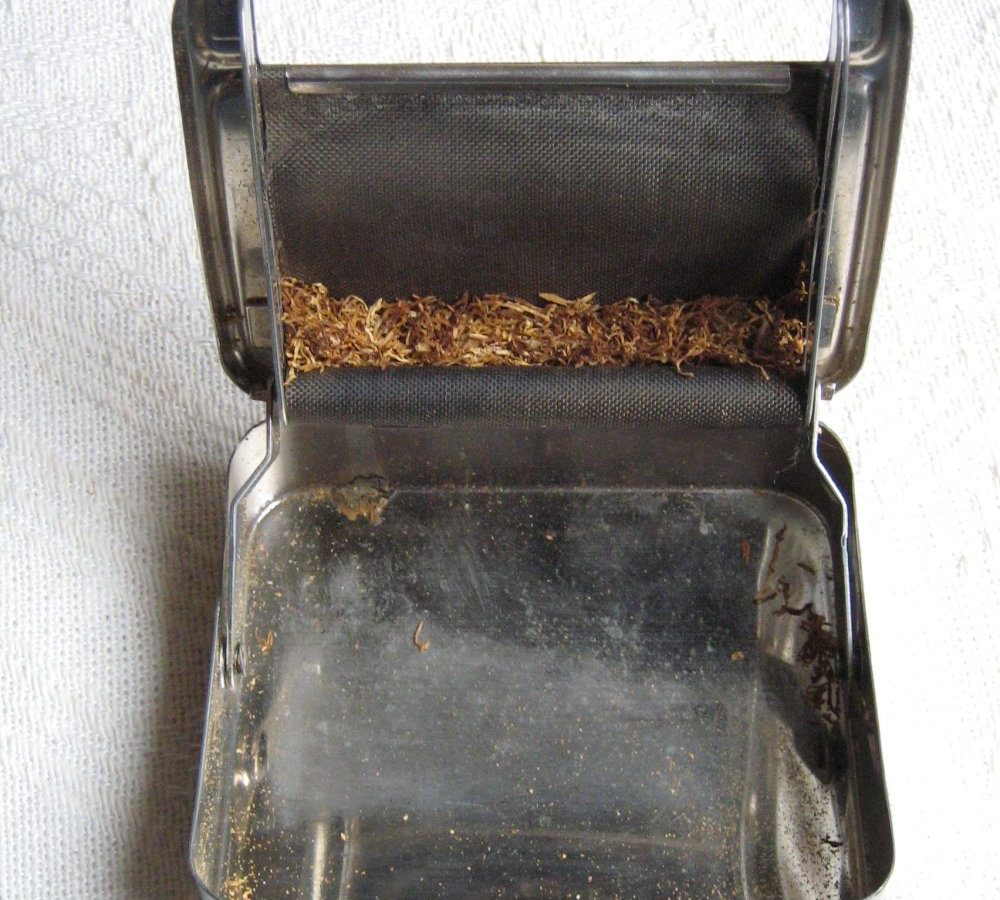
Here is the single most important fact about cigarette rolling machines: almost every jam, tear, and uneven fill traces back to maintenance — not to a “bad machine.” Tobacco dust and sticky resin build up in the feed slot and spoon channel, the mechanism starts dragging, and suddenly the machine that worked perfectly for months is “broken.” Ten minutes of cleaning fixes most of it. A two-dollar brush prevents nearly all of it.
This is the complete maintenance guide for electric and manual machines: the exact cleaning routine, how often to run it for your usage level, which parts wear out and when, storage rules, and a symptom-by-symptom troubleshooting table. Bookmark it — your machine will outlive its warranty by years. 👉
- Why maintenance is 90% of reliability
- Know your machine: the 5 zones that matter
- How often to clean (schedule table)
- The 10-minute standard clean, step by step
- The monthly deep clean
- Parts that wear out (and when)
- Electric vs manual: different care needs
- Storage rules that prevent problems
- Troubleshooting table: symptom → cause → fix
- Common mistakes (and fixes)
- Pro tips
- FAQ
- The printable checklist
Why maintenance is 90% of reliability
Rolling machines move tobacco through tight mechanical spaces. Tobacco is not clean cargo: it sheds dust, fine flakes, and slightly sticky residue with every pass. That debris does three destructive things:
- Clogs the feed path. Dust packs into corners of the hopper and feed slot until the spoon physically cannot travel its full stroke — the classic jam.
- Changes fill density. A partially blocked channel delivers less tobacco per stroke, so tubes come out loose at one end and normal at the other. Users blame the tobacco; it is almost always the channel.
- Wears parts faster. Grit acts like sandpaper on the spoon and its track. A dirty machine eats its own components.
Manufacturers know this — it is why every manual buries a cleaning schedule in the back pages nobody reads. Users who brush the feed zone regularly report machines running for years; users who never clean are the ones leaving one-star “jammed after 3 weeks” reviews. Same machines. Different habits.
Know your machine: the 5 zones that matter
Names vary by brand, but every injector-style machine has these five zones (our interactive jam troubleshooting tool has a clickable diagram):
- Hopper / chamber — where you load tobacco. Collects dust in its corners.
- Feed slot — the channel tobacco drops through. The #1 clog point.
- Spoon / slider — the moving part that pushes a measured portion into the tube. The #1 wear part.
- Nozzle / spout — where the tube mounts. Resin builds here and tears tube paper.
- Drive area — motor and gears (electric) or crank linkage (manual). Keep dust out; never wet.
How often to clean (schedule table)
Match the cadence to your usage — or answer four questions in our cleaning schedule planner and get a personalized interval:
| Usage level | Quick brush | Standard clean | Deep clean | Spoon check |
|---|---|---|---|---|
| Occasional (few per week) | After each session | Monthly | Every 3 months | Every 6 months |
| Regular (daily) | After each session | Weekly | Monthly | Every 3 months |
| Heavy (multiple daily / household) | After each session | Every 2–3 days | Every 2 weeks | Monthly |
Log your dates in our free maintenance tracker — it stores everything privately in your browser and can email you one reminder when the next clean is due.
The 10-minute standard clean, step by step
- Power off and unplug. Non-negotiable on electric machines. Fingers and feed mechanisms only meet safely when the motor cannot move.
- Empty the hopper completely. Return unused tobacco to an airtight container — do not leave it sitting in the machine (it dries out and sheds more dust).
- Invert and tap. Over a rolling tray or bin, tip the machine and tap gently. You will be surprised what falls out.
- Brush the feed slot and spoon channel. Bristled brush, firm strokes, all four directions. This is 80% of the value of the whole routine.
- Brush the nozzle/spout. Resin here is why tubes tear on mounting. A pipe cleaner through the spout finishes the job.
- Air-dust the corners. Short bursts of compressed air chase fines out of spots the brush cannot reach. Keep the can upright to avoid propellant spray.
- Wipe the exterior with a barely-damp microfiber cloth, then dry.
- Run one empty cycle. Listen: smooth and consistent means done; grinding or hesitation means repeat step 4 or see the troubleshooting table.
The monthly deep clean
Everything above, plus:
- Disassemble only what the manual explicitly allows. Usually the hopper cover and spout collar. Forcing further voids warranties and breaks tabs.
- Inspect the spoon under good light. Look for rounded edges, scoring, or wobble in its track — the three signs it is due for replacement.
- Check the tube-mount collar for cracks; a loose mount causes the “tube spins while filling” complaint.
- Vacuum around (not inside) the drive vents on electric units with a soft brush attachment.
- Photograph the machine’s state and log it in the tracker — trend-spotting beats memory.
🧹 The complete maintenance kit (under $25 total)
Four items handle 95% of all rolling machine care. Every item below is a live Amazon search so you always see current stock and pricing.
| Cleaning brush kit | Reaches feed slots and spoon channels — the #1 tool |
|---|---|
| Compressed-air duster | Blasts fine dust out of corners brushes miss |
| Microfiber cloths | Exterior wipe-downs without scratching |
| Replacement spoon/parts | The part that wears first on injectors |
- ✅ Cleaning brush kit on Amazon ›
- ✅ Compressed-air duster on Amazon ›
- ✅ Microfiber cloths on Amazon ›
See replacement parts on Amazon ›
As an Amazon Associate, ElectricCigaretteMachines.com may earn from qualifying purchases.
Parts that wear out (and when)
| Part | Typical life (regular use) | Failure signs | Fix |
|---|---|---|---|
| Spoon / slider | 6–18 months | Uneven fill, tearing, shallow strokes | Replace — match your exact model number |
| Cleaning brush | 6–12 months | Splayed bristles that skate over debris | Replace (cheap; buy two) |
| Tube-mount collar | 1–2 years | Tubes slip or spin during fill | Replace collar or spout assembly |
| Drive belt/gears (electric) | 2+ years | Whine, hesitation under load | Manufacturer service — do not open the drive yourself |
Fitment warning: “universal” spoons rarely are. Always cross-check the part listing against your model number — our replacement parts guide covers how.
Electric vs manual: different care needs
Electric machines add a motor and drive train to the equation. Extra rules: keep the drive vents dust-free, never run more than a few back-to-back jams (motors overheat trying to force blockages), and unplug before every clean. If the motor labors, stop and clean — forcing it is how drive gears strip.
Manual machines forgive more but wear at the crank linkage and rails. Wipe the rails dry-clean (no oil near the tobacco path), and if the manual specifies lubrication, use only the food-safe type it names, exactly where it names.
Choosing between the two? Our machine match quiz weighs cleaning tolerance as one of its six questions — because maintenance willingness genuinely should drive the purchase.
Storage rules that prevent problems
- Dry, room temperature, out of sunlight. Humidity swells residue into glue; heat warps plastic guides.
- Empty the hopper before any storage longer than a few days.
- Cover it. A cloth or the original box keeps ambient dust out of the mechanism.
- Store tubes separately, sealed. Crushed or damp tubes cause the tearing that gets blamed on the machine — our tube checker covers the details.
Troubleshooting table: symptom → cause → fix
| Symptom | Most likely cause | First fix |
|---|---|---|
| Repeated jams | Feed slot debris; tube mismatch | Full brush-out; verify tube size in manual |
| Tubes tear at the tip | Resin on nozzle; damaged tubes | Pipe-cleaner the spout; open a fresh tube box |
| Loose / underfilled ends | Partially blocked channel; worn spoon | Standard clean; inspect spoon edges |
| Overtight fill | Density set too high; damp tobacco | Lower density; follow manufacturer guidance on moisture |
| Grinding noise (electric) | Debris in drive area; failing gear | Stop, unplug, clean; persistent = service |
| Machine stops mid-cycle | Jam overload cut-off | Unplug, clear per manual, cool 10 minutes |
Walk the interactive version — symptoms in, likely causes out — in our jam troubleshooting tool.
Common mistakes (and fixes)
- ❌ Cleaning only when it jams. ✅ By then grit has been grinding for weeks. Schedule beats symptom.
- ❌ Oiling the feed path. ✅ Oil + tobacco dust = paste. Only lubricate what the manual names, with what it names.
- ❌ Digging out jams with a knife or screwdriver. ✅ Metal scores the channel and creates future snag points. Brush and pipe cleaners only.
- ❌ Ignoring a fraying brush. ✅ A worn brush cleans nothing. Replace it like the consumable it is.
- ❌ Leaving tobacco in the hopper overnight. ✅ It dries, sheds, and clogs. Airtight jar, every time.
Pro tips 💡
FAQ
How often should I clean my rolling machine?
Quick brush after every session; standard clean weekly for daily users (monthly for occasional use); deep clean monthly for daily users. Heavy users compress all intervals — see the schedule table above.
Can I wash parts with water?
Only fully removable, non-mechanical parts the manual says are washable — and they must be bone-dry before reassembly. Never wet the feed mechanism or drive area.
Why does my machine still jam after cleaning?
Usual suspects in order: tube size mismatch, worn spoon, packing density set too high, or damp tobacco. Run our jam tool for a structured diagnosis.
What lubricant should I use?
None, unless your manual specifies one. Most injectors are designed to run dry in the tobacco path. If the manual calls for lubricant, it will name a food-safe type and exact points.
When should I replace the spoon?
At the first signs of rounded edges, scoring, or persistent uneven fill after a deep clean — typically every 6–18 months of regular use. Match replacement parts to your exact model number.
Is maintenance different for manual machines?
Same cleaning logic, no electrical precautions, plus attention to the crank linkage and rails. Manuals still rule on lubrication.
The printable checklist ✅
- ☐ Every session: tip, tap, brush the feed slot (30 seconds).
- ☐ Weekly (daily users): the 8-step standard clean above.
- ☐ Monthly: deep clean + spoon inspection under light.
- ☐ Quarterly: replace brush if splayed; check tube-mount collar.
- ☐ Always: unplug first, empty hopper after, store covered and dry.
- ☐ Log it: dates and jams in the maintenance tracker.
- ☐ Stock spares: brush, pipe cleaners, one spoon for your model.